
Manage channels
Check a channel's status, reconnect, add more accounts, or disconnect.
Everything after connecting happens on the Connections page.
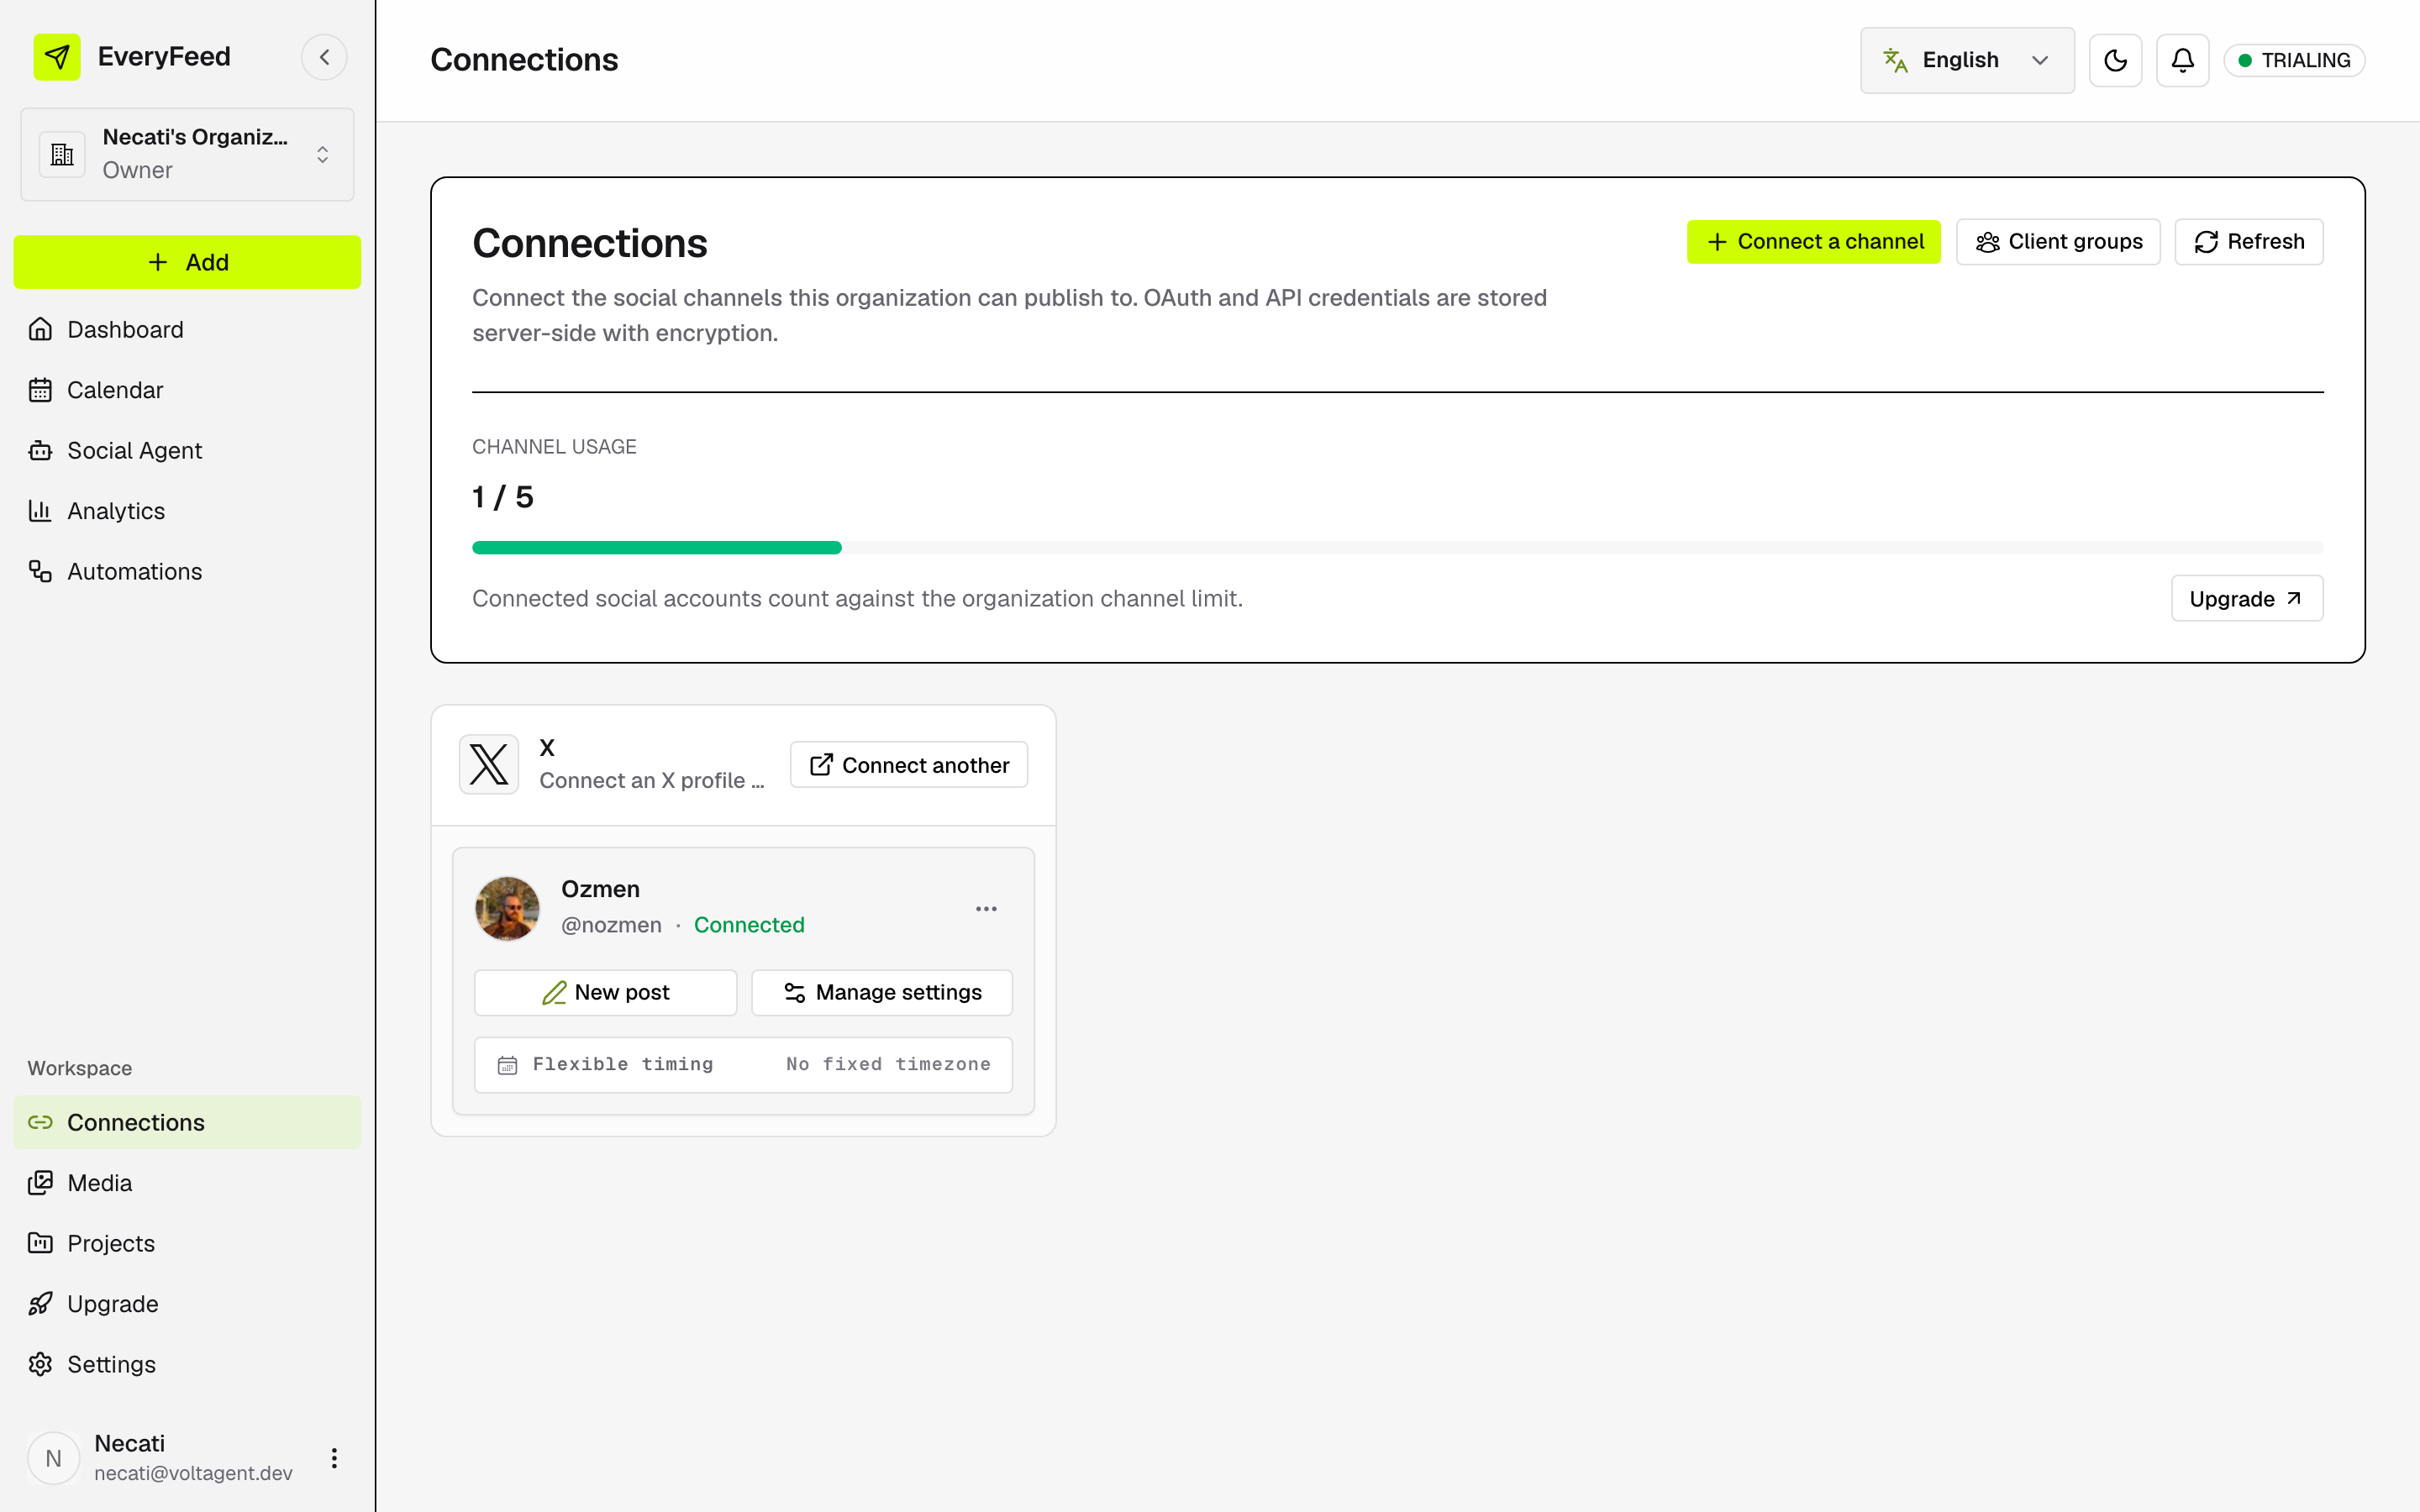
Check a channel's status
Each account row shows a status label:
| Status | What it means |
|---|---|
| Connected | Healthy and ready to publish. |
| Needs selection | Sign-in done, but you still need to pick the page or channel — see picking a destination. |
| Needs reconnect | Access expired or permissions changed — reconnect before publishing. |
Reconnect an account
If an account shows Needs reconnect, click Connect on that provider and sign in again. Scheduled posts for that channel only go out once it's healthy.
Add another account
A provider can hold several accounts — click Connect another on the provider card and sign in with the other account.
Organize channels by client
Publishing for several brands or clients? Click Client groups at the top of Connections to keep each client's channels together, filter every view by client, and even let a client connect their own account through a secure link — see Client groups for the full guide.
Set a weekly posting schedule
Click the schedule chip on an account row (it reads Flexible timing until you set one) to open Posting schedule. Add one or more times per weekday and pick a timezone — saved times stay local to it through daylight saving.
These times power Next available slot: the finder jumps to the channel's next free weekly time. No schedule anywhere? It uses the next free half-hour.
Disconnect an account
Open the ⋯ menu on the account row and choose Disconnect account, then confirm.
Disconnecting keeps your data: scheduled posts for that account become drafts, and published history stays available. If access just expired, reconnect instead.