
Team & roles
Invite teammates, assign roles, and control access.
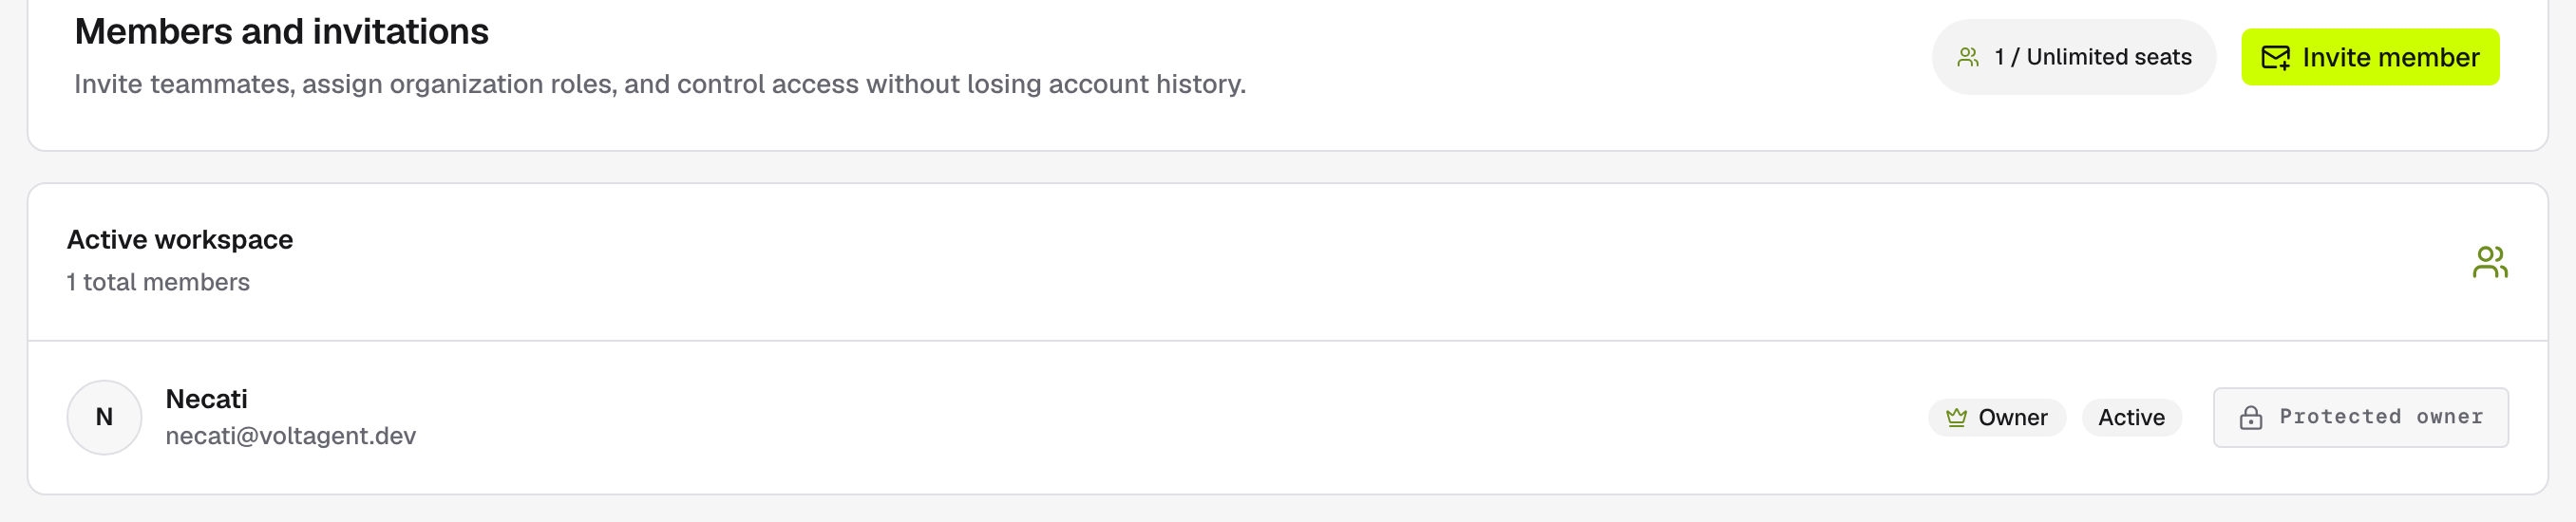
Open Settings → Team to manage members and invitations. Owner or admin access is required to invite and manage the team — members can view the list read-only.
Roles
| Role | What they can do |
|---|---|
| Owner | Everything, including billing. One per workspace, protected. |
| Admin | Manage channels, team, and settings — everything except billing. |
| Member | Work with content; can't connect channels or manage the team. |
Ownership can't be assigned through an invitation — see transfer ownership below.
Invite a teammate
Click Invite member, enter their email, and pick a role (Member or Admin).
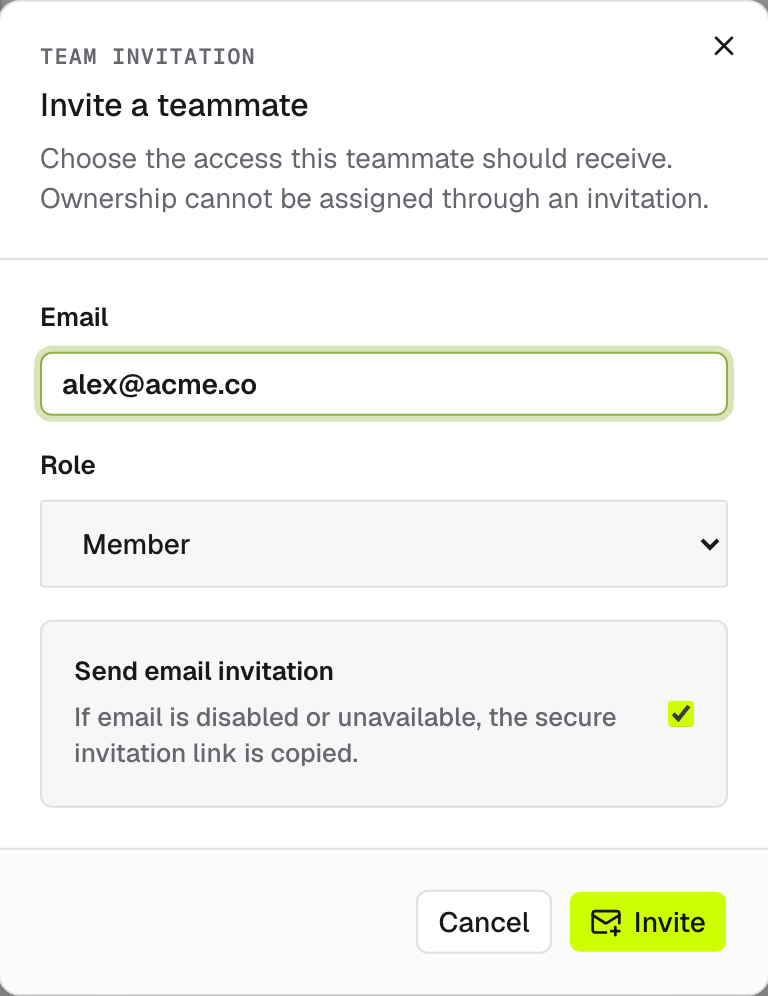
Send email invitation is on by default — turn it off for a link-only invite. Click Invite; whenever the email isn't sent, the secure invitation link is copied so you can share it yourself.
Track it under Pending invitations — each row shows its expiry date (invitations last 7 days). Resend restarts the clock and copies a fresh link; Revoke kills it.
Seats count active members and pending invitations against your plan — the pill in the header reads "1 / 1 seats" (or "Unlimited" on plans without a cap). At the limit, you'll be prompted to upgrade.
Manage members
Change a member's role from the dropdown on their row, or remove them. You can also Disable a member — access stops, but their history stays intact for when you re-enable them (re-enabling needs a free seat). You can't demote, disable, or remove yourself, and the owner row is protected entirely.
Transfer ownership
The owner can hand the workspace to another member: choose Make owner on their row, type the organization name to confirm, and roles swap immediately — they become owner, you become admin.
Billing stays with the owner
Only the workspace owner can change billing settings or complete a billing recovery.